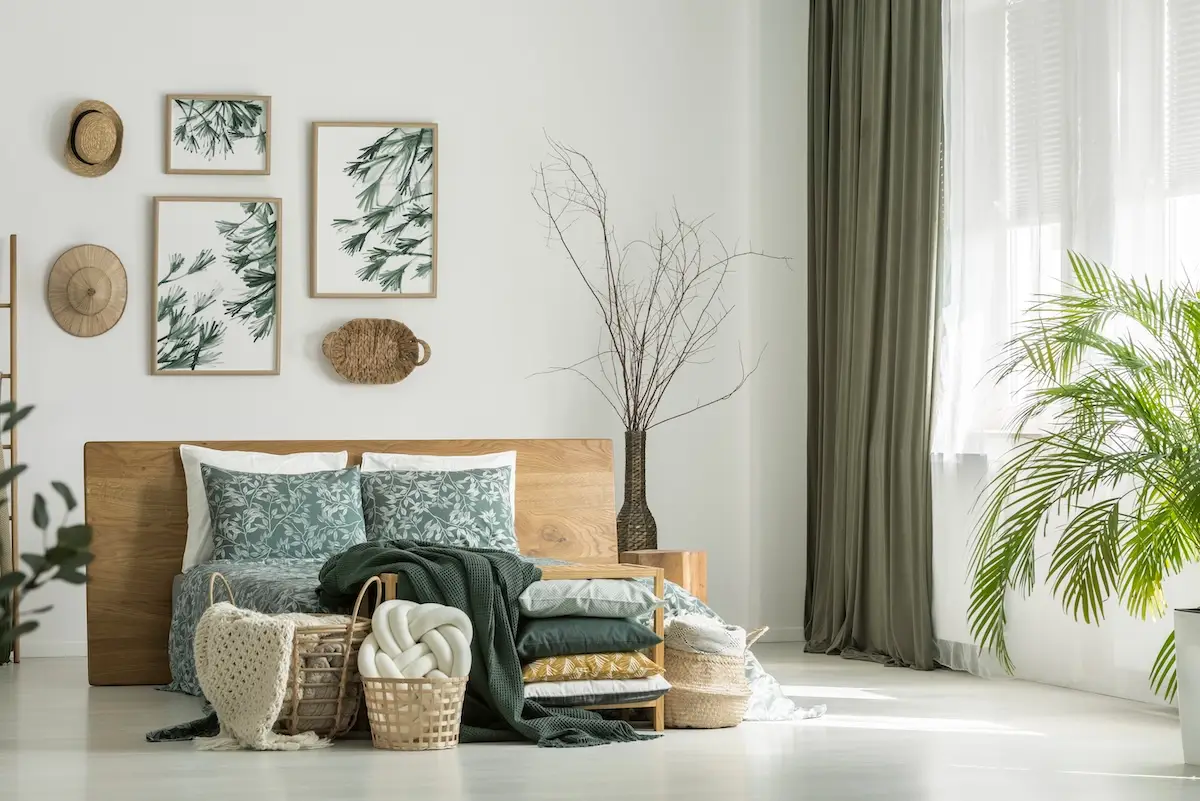

A blank wall is a quiet stage waiting to spotlight its star performer. Framing art transforms these bare canvases into captivating focal points with beautifully designed frames and practical placement. Whether it’s a treasured family portrait or a delicate botanical watercolor, these five essential tips on how to frame art can turn any space into a prized gallery collection.
1. Choose the Appropriate Frame
The frame you choose can enhance or overpower your artwork, so it’s crucial to thoughtfully consider the frame’s material, design, and size to achieve a cohesive look.
- Gallery Frames: These frames are ideal for sleek contemporary pieces. Their clean lines keep the focus on the art itself–perfect for minimalist living rooms or sophisticated office spaces.
- Wooden Frames: Timeless and versatile, wooden frames complement various art styles from vintage sketches to modern photography. Natural wood tones introduce warmth to cozy libraries or rustic interiors, while painted finishes provide a splash of color in entryways or dining rooms.
- Metal Frames: Perfect for a modern or industrial aesthetic, metal frames offer timeless durability and futuristic finishes. Metal frames pair beautifully with black-and-white photography or abstract art in urban apartments or panoramic penthouses.
2. Match the Frame and Art Style
Your artwork’s medium and style should influence your framing decisions. The right frame tells a story by harmonizing with your home’s aesthetics. For example, floater frames are popular among art collectors for creating an illusion that art is “floating” within its self-contained borders, adding depth and dimension to modern homes.
When showcasing fine art or curating a gallery-style wall, opt for wide frames with intricate detailing to highlight the elegance of traditional works. Often seen in prized collections, deep-set frames provide a timeless sophistication to old-school oil paintings. As seen in our contemporary condominium project, we paired deep-framed artwork with high ceilings and wall sconces to create a museum-worthy ambiance.
If you like to keep things simple and sleek, clean-lined frames in neutral hues allow artwork to take center stage. These timeless frames complement various design aesthetics and modern art pieces. Whether you select a sleek frame that subtly showcases the piece or an ornate design that elevates classical works, the right frame can become an extension of your home’s design.
3. Consider the Matting
Matting your artwork offers the best of both worlds by enhancing depth and dimension while protecting your art from harsh sunlight and fluctuating indoor climates. Here are some matting options to bring your artwork to life:
- Double Mats: These mats consist of two stacked boards that create subtle accent borders. For example, an ivory outer mat with a golden inner mat can add a touch of elegance and drama to family portraits or large statement pieces showcased in dining areas or living rooms.
- Floated Mats: Ideal for delicate watercolors or charcoal sketches, floated mats give the illusion of the artwork hovering above the mat. This option is well-suited for pieces where images touch the frame’s edges or have textured and organically shaped borders.
- No Mats: Forgoing the mat creates a sleek, edge-to-edge presentation, perfect for painted landscapes or striking photos with cinematic allure. This option allows artwork to “bleed” into the walls behind it for an immersive gallery experience.
4. Map Out Art Placement
Before you hang your framed art, take a moment to envision its perfect placement. One way to plan your arrangement is by using paper templates. First, trace and cut out shapes that reflect the size of your framed pieces. Tape them to the wall, inspect their placement, and rearrange them as needed until you find a layout that harmonizes with the rest of your space.
Picture a stunning landscape mural framed in a sleek, thin metal frame, unmatted with colors spilling to the edges. Consider placing this piece above a sofa for a striking focal point in a contemporary living room. Position the bottom edge of the frame about 8-10 inches above the sofa to balance negative wall space alongside other decor elements. Also, consider adjusting this distance depending on the ceiling height.
As you map out your art, be sure to keep the 2/3 rule in mind to achieve visual balance as well. Artwork should be approximately two-thirds the width of the furniture it hangs above. This rule further applies when hanging a gallery wall or multiple pieces of art. You can consider the entire arrangement as a single piece in terms of scale whose combined width is at least two-thirds the size of the furniture below.
5. Hang Artwork at Eye-Level
To ensure your artwork becomes a focal point, make sure your art is at eye level, around 57 inches from the floor. If you’re framing multiple pieces, start with the largest piece to allow new ways to anchor and design outward. This guideline can be accommodated for wall-mounted electronics, floor lamps, windows, and lofted ceilings. This approach also ensures there’s a generous amount of space between other amenities to feature a balanced and functional finish.
Imagine transforming your dining room into an artist’s haven by arranging a collection of narrow photographs between stunning floor-to-ceiling windows. To accommodate this high-traffic area, consider placing these narrow frames above eye level to bring attention to outdoor scenery and the beautiful photos that complete the look.
We hope these tips on how to frame art have inspired you to redefine your home’s aesthetic. Ready to create an artistic sanctuary that reflects your story? Contact us today, and let’s bring your vision to life!